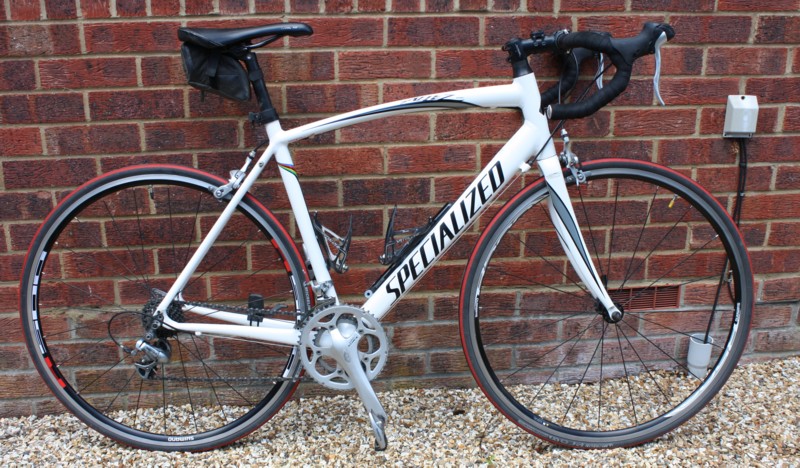
Specialized Allez Sport
My first road bike, having borrowed one from my brother for a couple of sportives. The Allez Sport double was chosen on the basis of a back to back comparison ride from my local dealer - always get a test ride before buying!
Complete set of gears and brakes upgraded from a mixture of silver 9 speed Shimano Sora and Tiagra to a black 10 speed Shimano 105 groupset after 20000 miles of use. The headset was not difficult to fit, but I found no instructions on the internet, so a guide to replacing Allez headset complete with pictures is lower on this page.
Replacing the headset on a Specialized Allez
These are D.I.Y instructions, using tools likely to come to hand, rather than professional tools. Follow these instructions at your own risk.
The headset spacers that were standard on my Allez are marked 'cane creek'. So I contacted cane creek by email to find out what part to buy from them. They did not reply to my emails. So I contacted specialized who gave me a part number (in my case W2060322) and my LBS was then able to order for me, though they ordered W2060031 which is supposed to be the same, and it cost me £30.
To begin, remove the front wheel. Then disconnect the front brake cable from the brake caliper. Unscrew and remove the pre-load cap from the top of the stem. Loosen the two screws that secure the stem to the fork, and lift the handlebars off and to one side.
Remove the spacer stack (if present) and drop (gently) the fork through the frame and put to one side. At this stage there is probably the headset seal still attached to the fork as in picture 1 below. Use a flat bladed screwdriver to gently prize this off the fork, and place the new one on.
The bearings are press fit into the head tube. Use a large flat bladed screwdriver placed down through the head tube onto the lip of the lower bearing and gently tap all around the bearing to remove it. Headset bearing removed ready for replacement is shown in picture 2 below.
Now turn the head tube up the other way and repeat for the top bearing. This leaves the head tube ready to accept new bearings as shown in picture 3 below.
To push fit the new bearings into the head tube, I made a temporary press out of a couple of old bits of wood and a threaded bar with a nut on each end. Place the new bearings into the head tube, and tighten the nuts to slowly press the new head tube bearings into the head tube. This will not press the bearings all the way in, as they are supposed to be recessed into the head tube. Therefore I used a socket the same diameter as the bearing to press the bearing the rest of the way into the head tube as shown in picture 4 below. new headset bearing seated in head tube is shown in picture 5 below.
Finally place the fork back in the head tube, refit the spacer stack if used, refit the handlebars, and tighten the pre-load cap on the top of the stem to get the required play, and then tighten the stem bolts. Reconnect the brake cable and re-fit the front wheel. Headset replaced and ready to ride in picture 6 below.


