Specialized Hardrock
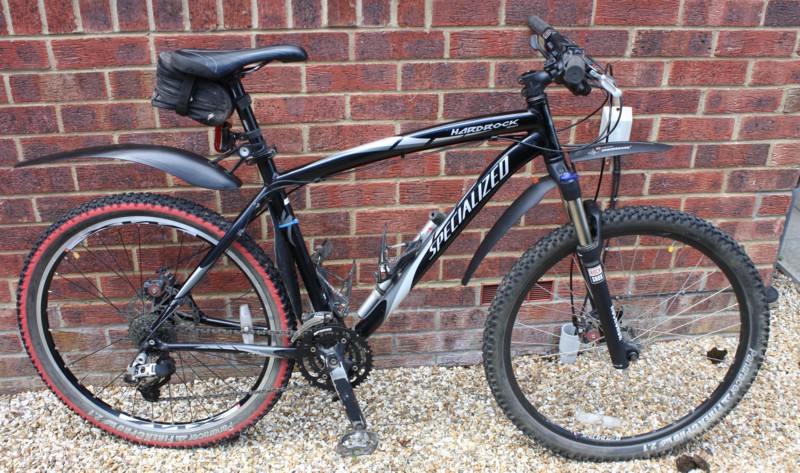
My first bike to try to get get fit. 2009 Specialized Hardrock sport disc mountain bike
This is the bike that really has to take the abuse - the forest is often wet, muddy, gritty, and even sandy in places. The hardrock has survived the abuse moderately well, but the maintenance is more than I would like and it is a shame so many bits wear out when you go off road!
Front forks (SR suntour XCT V2) need servicing about every 500 miles and these really are the weakest area of this bike (Servicing guide for Suntour forks), chains last about 750 miles, jockey wheels last about 1000 miles, cassettes last about 1200 miles, and bottom brackets last about 3000 miles - at least riding the bike the WAY I ride in the PLACES I ride it!
Eventually I got fed up with the standard forks always being full of water, and replaced with RockShox XC30. Much better to ride than the destroyed standard shocks, and zero maintenance. The Avid BB5 disc brakes were also an area of constant fiddling - the BB5 is not easy to keep adjusted correctly, so eventually I upgraded to a larger rear disc (from 160mm to 180mm) with a BB7 caliper. Massive improvement to setup, and to braking - now with a slight rear bias which I like.
How to tell if your chainring and cassette are worn
The pictures below show some of the worn parts from my hardrock alongside the new parts. Its worth keeping an eye on these things as they wear out FAST. Can't imagine why - perhaps the last picture explains.


Servicing SR suntour XCT V2 forks
When I first needed to service the SR suntour XCT forks, I could not find a guide on the internet, and ended up doing more work than necessary - no need to remove fork from the bike. So I thought this guide may help anyone else needing to do it.
I have experienced two problems with these forks, first, they fill with water very readily, and they keep it in there. This causes corrosion on the springs, and squeaks, and eventually causes hydraulic lock and prevents the fork from moving. The second problem is play (front to back - Hold front brake on and rock bike forward and backwards to see this play) caused by worn plastic slider sleeves, so I will cover replacing these too.
Start by removing the front wheel. I raise the handlebars off the ground to make it easier. Disconnect the front brake cable. I disconnect it at the lever end, so that when its refitted no adjustment is needed. Slacken off and remove the two 10mm nuts on the bottom of the forks. At this stage water trapped in the fork will run out. Slide the lower section tubes of the forks downwards and remove from the bike. Remove the 'dust seals' from top of the removed lower tubes and clean.
Remove the large plastic adjuster knobs from the top of the forks. A special tool is probably required here, but I found that a 1 inch socket fits the plastic lugs - as long as you are careful not to slip and damage the plastic. Once the caps are removed, slide the springs up and out of the stanchion tubes. The removed springs on this suntour fork are different left to right, so note which side is which.
Now the parts can be cleaned. Clean the mud, water and grease from the suspension springs. The rubber chunk inside the spring is a crude damper. Clean that too. Re-grease these parts. Clean the tubular parts of the fork. Pay particular attention to the 'chrome' stanchion tubes. These rub up and down against the plastic slider sleeve in the lower tubes, and although the plastic part wears out and can be replaced, you will also get wear on the chrome, and this will tend to rust, causing poor movement, so particular care is needed.
If there is play in the fork, the plastic slider sleevess can be prised out of the top of the lower tubes of fork. Replacements are available, and if the metal parts are not too worn, the tolerances can be restored to nearly new state. Spares are available through Greyville, and although their website says trade only, I was able to phone and order the parts myself.
Reassemble in the reverse sequence to disassembly. Take care refitting the lockout to ensure it is not locked when it should be unlocked.


